Showing posts with label Sewing. Show all posts

Tuesday, January 17, 2012

Urban Cowgirl


This is the "sew something you can wear" portion of my SYTYCS challenge. Let me tell you, this was a challenge. I thought I would be all cool and show how even adults can wear ruffles. Well, I am not so sure anymore. I basically sewed this skirt with my seem ripper in my lap!! I know that basically goes against the idea of entering a challenge with a title asking me if I can sew, but whatever. I had a great time and I am SHOCKED that I even made it this far. I named this skirt after the fabric line from Moda that I used for the top and bottom ruffles. They are from the "Urban Cowgirl" line. Don't you just love this fabric? I do. If you also love the skirt, be a doll and vote for me here. Thanks for all your support it has been so much fun!

Tuesday, January 10, 2012

So You Think You Can Sew; Week 2- Refurbish

I was so excited to hear about the challenge for this week. I love cutting things up and trying to put them all back together.

I had this HUGE sweater my mom gave me that she used to wear back in the day. It was so soft and comfortable, but it looked awful. Lincoln was not a fan, and I just couldn't figure out what to do with it. I just put it in my "To-Do" bin and forgot about it. Once I heard about this challenge, I knew it was time to take the sweater out.


Due to some stains I knew I would have to dye it. It was my first time ever trying to dye fabric other than the few times I tie-dyed shirts. It took forever and it didn't really turn out the way I had planned, but it was a learning experience for sure.
I knew that after washing and drying it, the agitation would shrink it, so I planned on making something for Clark. However, after seeing the lavender color and how soft and fluffy the sweater became, I knew it would have to be for a girl. Luckily I have so many nieces in town it wasn't hard to get one to model for me.
Katelyn was more than happy to show her skill in modeling and style. She suggested we pair the outfit with her new boots and pink leggings.
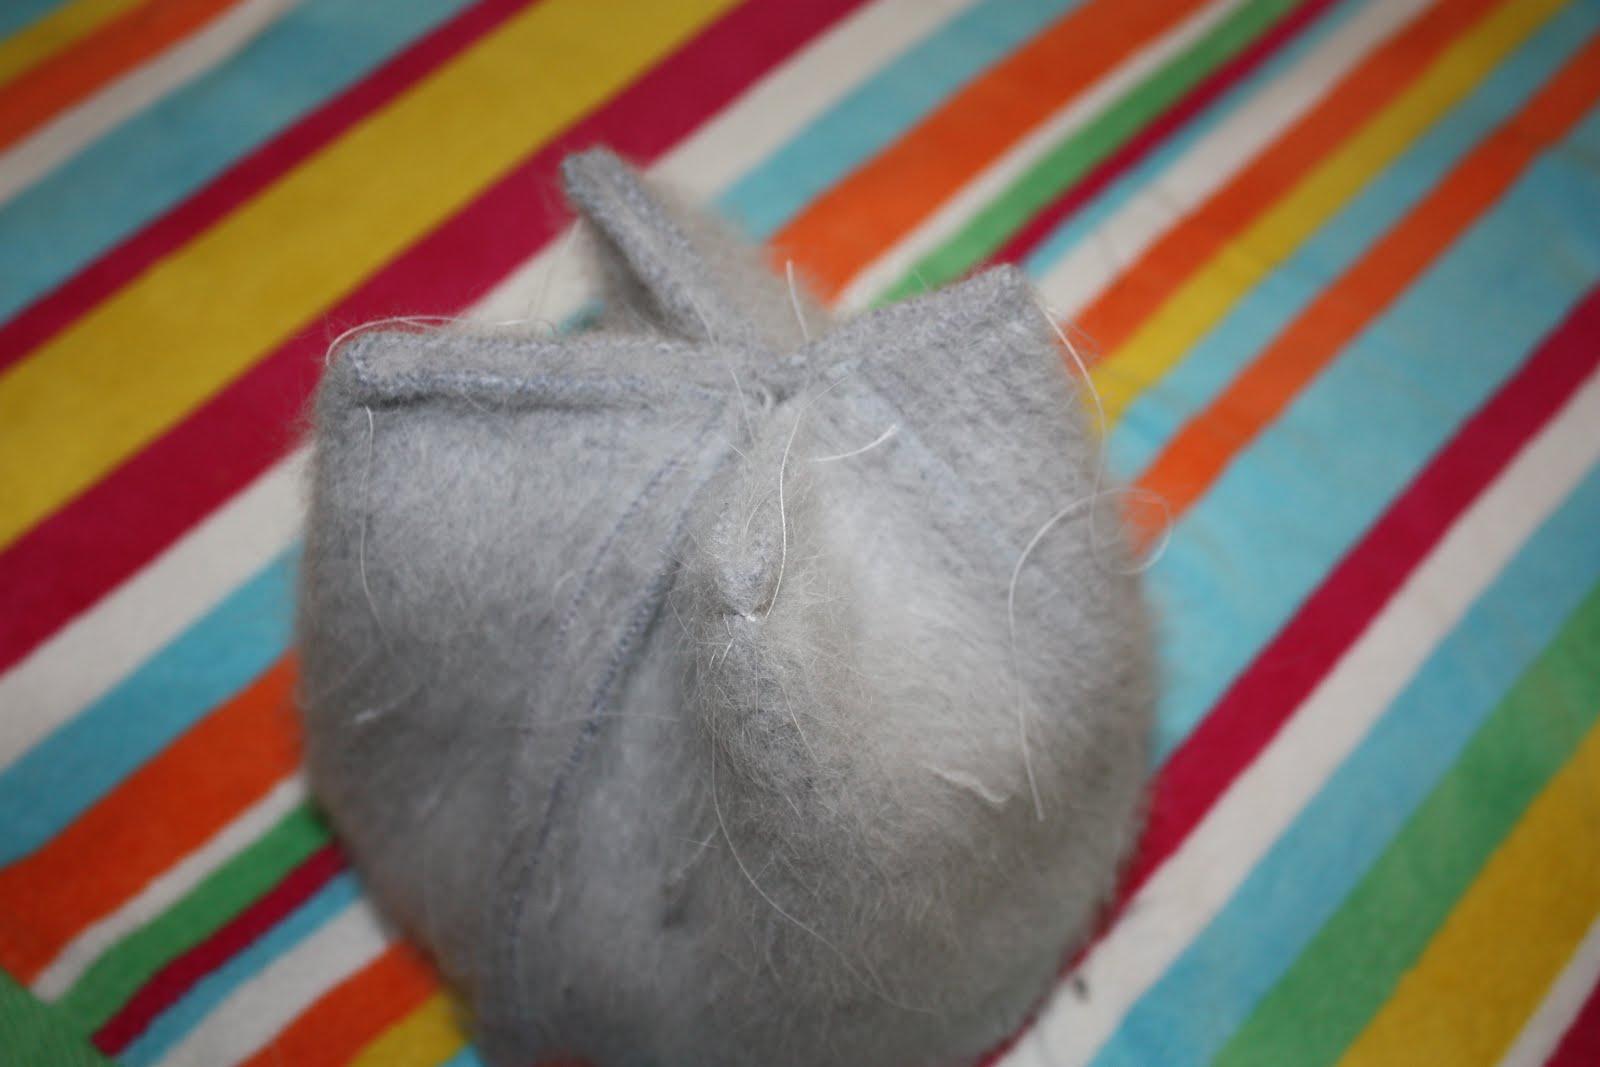
With the extra fabric, I made a hat for her as well. There is only a few scraps left and I plan on making some fun rosettes for myself.
I was really happy to see how easy it was to sew with this fabric. After it was felted so much in the wash, it didn't fray or need ironing.

I am almost finished with the tutorial for how I made this little dress.

I have really enjoyed these challenges and I am SOOO grateful for all of your votes to help me move on. I would love your votes and support again this week. Please visit Ashley's blog to show me some love.

So, You Think You Can Sew- Week 2; Refurbish TUTORIAL

This is how I made this...

Into these...

Seriously, isn't she a cutie pie.

I decided to dye it since the sweater was old and had a few stains. The fabric is Angora and Rayon which makes coloring it very tricky. I had to dye it twice and both times it didn't turn out anything like the color I had planned. I used the dye Idye from Joanne's. The first color I used was a deep blue but it turned more of a soft grey. The second color I used was actually a navy, but that only turned the sweater a soft lavender. I left it in the dye for over six hours the second time, but it still didn't work. Obviously, this was a major lesson on how to dye fabrics. Dying cotton is WAY easier.
After all of the washes (I never dried it in the dryer) all the agitation made the sweater felt and it shrunk. I was hoping it would, and I was happy with how much it did.
Once it was dry, I cut some pattern pieces out to make a ruff estimate on what I needed to cut out of the sweater. NOTE- I didn't end up making any mittens :( due to the lack of fabric left over.
I had to use the sleeves as a panel for the sides of the skirt so it would swing more. I didn't want it to be too tight. So, the mittens had to be sacrificed. I also sewed the buttons down in the front of the skirt so there was no gap or way it could open.
However, I didn't sew the button closed on the top in order for it to be slipped on and off easier. After I cut out the top, I realized I wanted a little sleeve. I used extra fabric from the sleeve and sewed it along the edge. I didn't have to hem the edge since the fabric was so felted. I liked the raw edge and decided to keep it.
I then cut the sleeves at a angle to allow some space for the armpits.
With the panels in the skirt, I had to gather the skirt at the waist.
Once gathered and even, I turned the top inside out and placed the skirt inside it so it was right sides together. Make sure the buttons were lined up before I started sewing. I folded the bottom up and just made a simple hem.
I measured the hat size around Clark to see what a baby's head should be like. I then sewed up the side to make a sort of tube. I used the finished edge of the sweater so I wouldn't have to worry about the bottom. I then folded the hat in fourths and sewed each side to the middle.
Next, I took each of the little corners and sewed a angle 1.5 inches from the top to the middle. I don't think that makes sense, but I had cut the corners off before I took this picture, so... sorry.
I turned it back right side in and sewed some extra buttons from the dress to the front. However, you see that we put a flower on it instead. It really pulled out the leggings that my niece wanted to wear. She is such a fashionista that I just went with it.

This was my first time trying to do a sewing project while I did a tutorial when I don't have a full plan on how I want to do it. I was just fly by the seat of my pants as I was working on this. I think that can make the best projects. Just use all of your sewing knowledge and go for it. What do you have to lose?

Thank you all so much for you amazing support. Don't forget to vote for this project over at Mommy by Day, Crafter by Night.

Tuesday, January 3, 2012

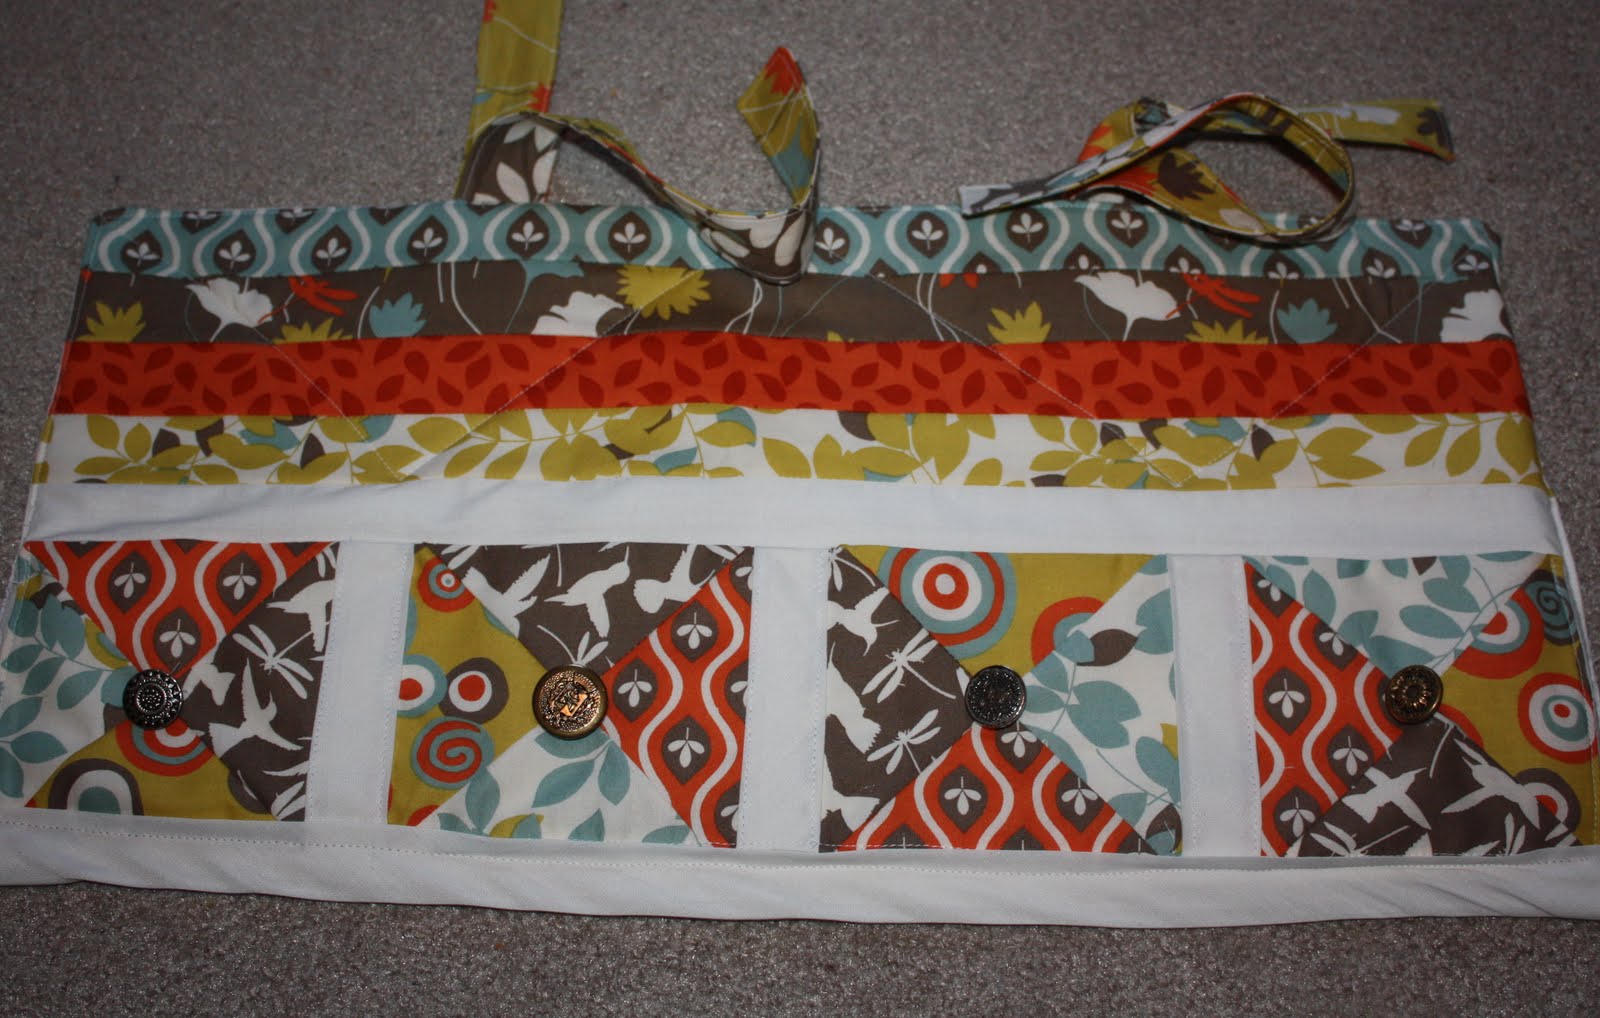
The Crib Caddy

THE CRIB CADDY

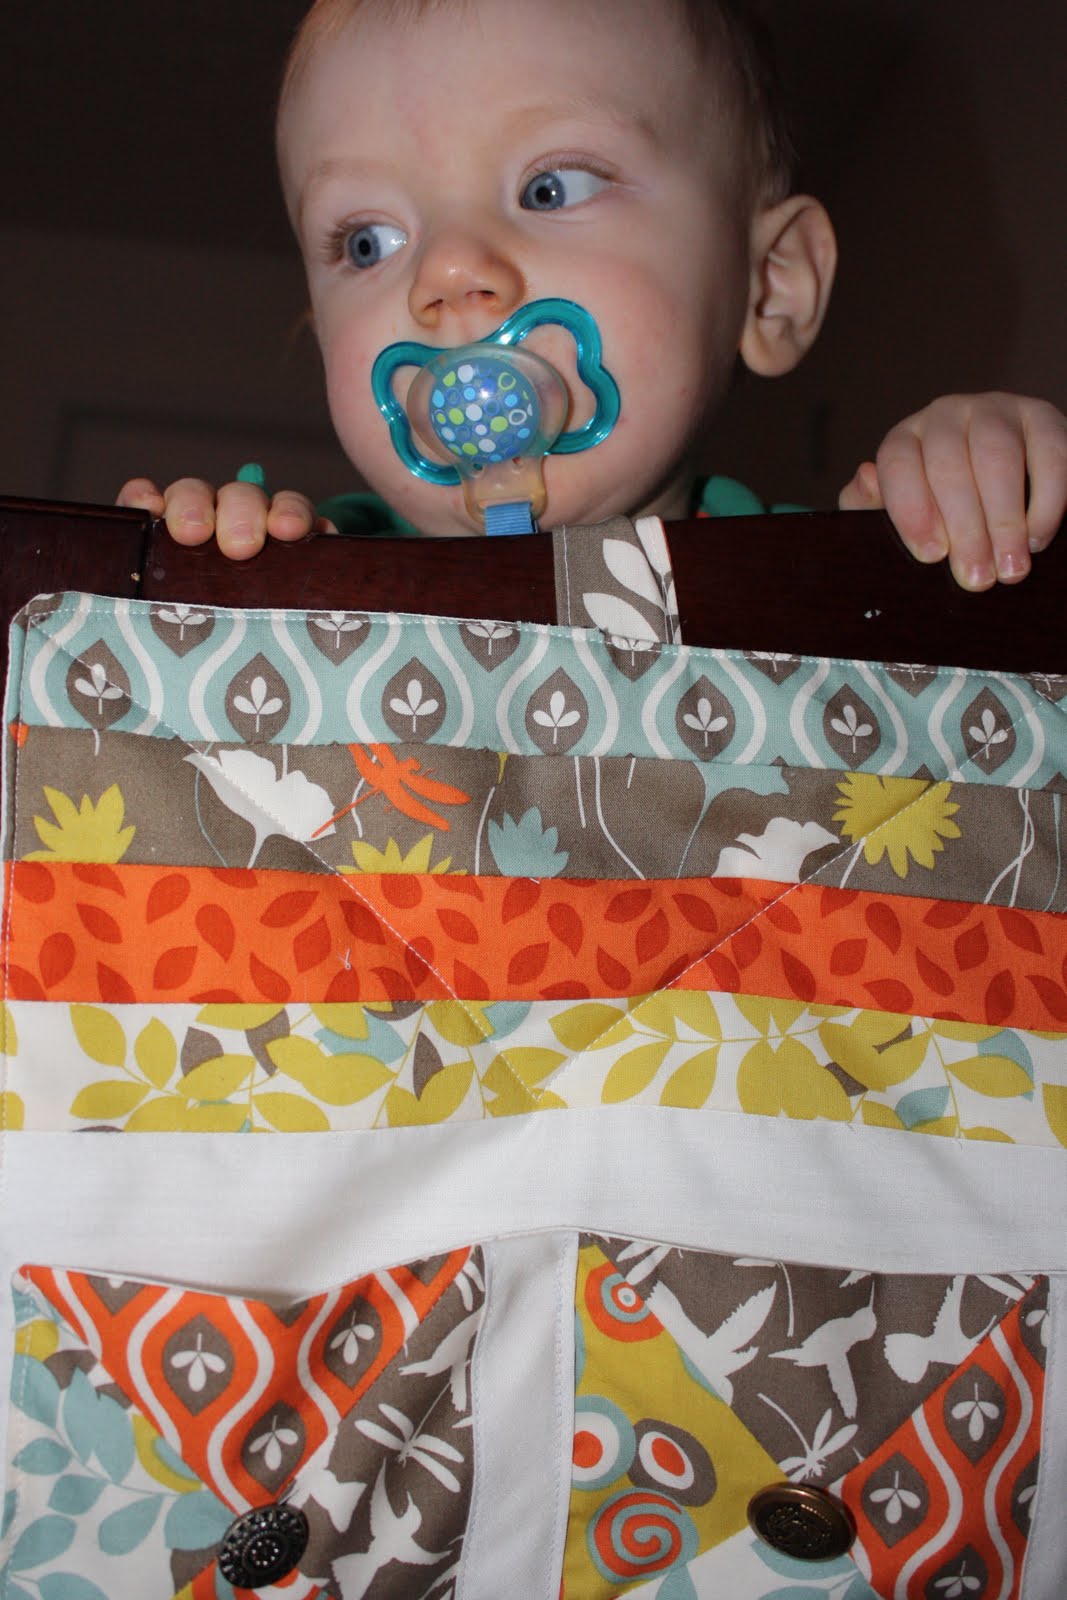
Hey, Ladies! Have you ever found yourself in your baby's bedroom in the dark on your hands and knees desperately searching for your baby's pacifier? Have you ever looked at your child's snotty nose and thought, "Where's a wipe when you need one?" Or have you ever wished you could you put your baby thermometer in a more convenient location?

If the answer to any of these questions was "YES!" then I have just the thing for you: "The Crib Caddy™."

This simple yet elegant crib accessory is the perfect place to put all your crib crisis corrective contraptions.

"The Crib Caddy: Addressing Your Baby's Needs . . . with Style."

*Baby not included.
**Patent pending.


Explanation-
Here it is, the big surprise, I am in the top 12 for the sewing competition I entered. I was waiting to tell everyone for fear that they would realize that I was actually in the bottom twelve and they told me the top twelve by mistake. I was very shocked, flattered, and extremely out of my league. It couldn't have come at a worse time. December is a crazy time for us at the salon, and I had two weddings I was doing hair for. Not to mention, I also had Christmas and New Year's to deal with. Needless to say, I was a little frazzled. I really was excited for the competition, but I didn't get started until Sunday night. I was mentally done with my project, just not physically done. I knew what I wanted to do, I just needed to get my act together and finish it. So, without further ado, here is my first project for So, You Think You Can Sew.

Supplies-
I used the Arcadia fabric from Moda. I had a old Honey Bun and Charm Pack laying around for years just waiting to be used. The buttons are old brass and silver buttons my mom gave me.

How to Vote-
If you would like to vote for me, go to Mommy by Day Crafter by Night and follow the rules. THANKS!!

Tuesday, November 8, 2011

"So, you think you can Sew"

I am entering a contest, a sewing contest. I know, I am crazy. I just can't help myself, I love a challenge. I might be crazy, but I am not delusional. I know that my sewing skills are WAY below most of the sewers out there, but if I don't push myself, how will I ever grow. My friend, yes, the same girl I mention ALL the time on here, is having a sewing contest on her blog with awesome prizes. There are tons of people entered so I am not holding my breath. But without further ado, here is my first entry.
If I was really thinking ahead, I would have ironed it before taking this picture. Oh, well. It is a pattern called the school house tunic and it was really easy. Maybe I should have entered a more difficult project... I swear I can make harder stuff, this is just my most recent project. Oh, man, now I am wondering if I should have entered with something different...

Anyways, there is a funny story about when I made this. I was just about finished with it when I realized that it fit everywhere but over my stupid nursing boobs. (Nursing isn't stupid, just the crazy size that your boobs get while doing it.) I was so frustrated. I had to take the entire thing apart and sew panels on both sides to make it work. I bet Tim Gunn would have been proud.

Oh, did you notice my new cut and color? I really do need to make a post about it. I think it is my favorite color and cut on me OF ALL TIME!!!