Showing posts with label Tutorial. Show all posts

Tuesday, January 10, 2012

So, You Think You Can Sew- Week 2; Refurbish TUTORIAL

This is how I made this...

Into these...

Seriously, isn't she a cutie pie.

I decided to dye it since the sweater was old and had a few stains. The fabric is Angora and Rayon which makes coloring it very tricky. I had to dye it twice and both times it didn't turn out anything like the color I had planned. I used the dye Idye from Joanne's. The first color I used was a deep blue but it turned more of a soft grey. The second color I used was actually a navy, but that only turned the sweater a soft lavender. I left it in the dye for over six hours the second time, but it still didn't work. Obviously, this was a major lesson on how to dye fabrics. Dying cotton is WAY easier.
After all of the washes (I never dried it in the dryer) all the agitation made the sweater felt and it shrunk. I was hoping it would, and I was happy with how much it did.
Once it was dry, I cut some pattern pieces out to make a ruff estimate on what I needed to cut out of the sweater. NOTE- I didn't end up making any mittens :( due to the lack of fabric left over.
I had to use the sleeves as a panel for the sides of the skirt so it would swing more. I didn't want it to be too tight. So, the mittens had to be sacrificed. I also sewed the buttons down in the front of the skirt so there was no gap or way it could open.
However, I didn't sew the button closed on the top in order for it to be slipped on and off easier. After I cut out the top, I realized I wanted a little sleeve. I used extra fabric from the sleeve and sewed it along the edge. I didn't have to hem the edge since the fabric was so felted. I liked the raw edge and decided to keep it.
I then cut the sleeves at a angle to allow some space for the armpits.
With the panels in the skirt, I had to gather the skirt at the waist.
Once gathered and even, I turned the top inside out and placed the skirt inside it so it was right sides together. Make sure the buttons were lined up before I started sewing. I folded the bottom up and just made a simple hem.
I measured the hat size around Clark to see what a baby's head should be like. I then sewed up the side to make a sort of tube. I used the finished edge of the sweater so I wouldn't have to worry about the bottom. I then folded the hat in fourths and sewed each side to the middle.
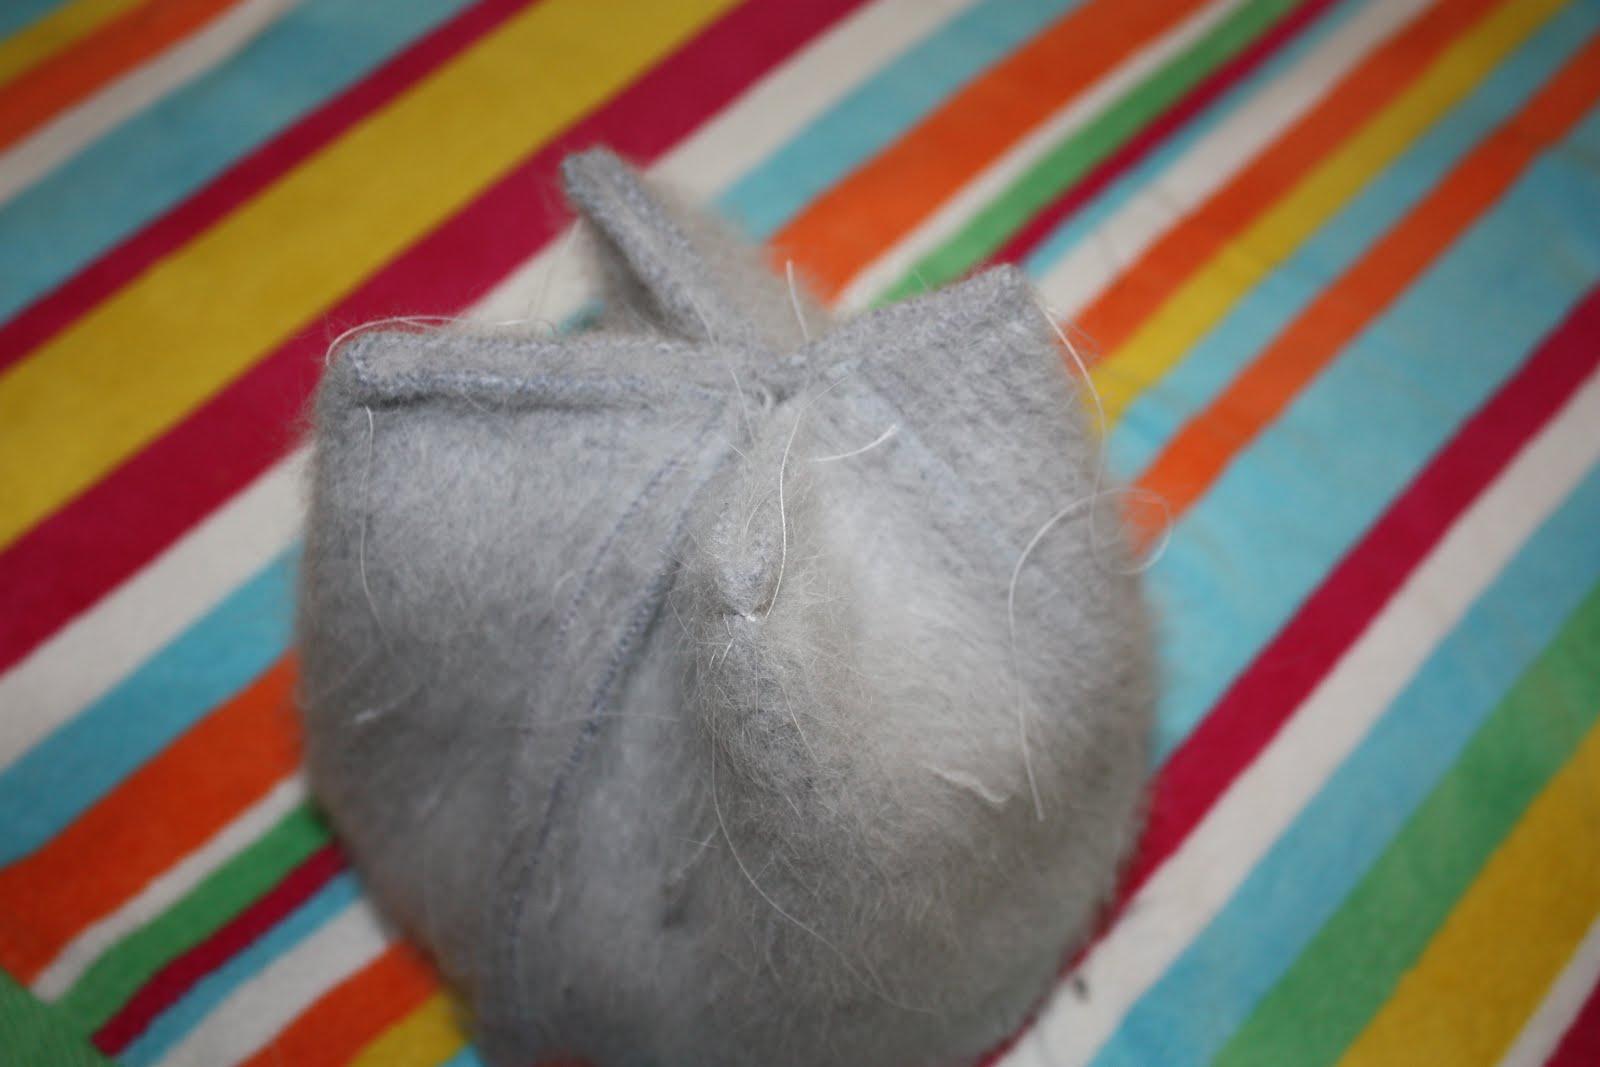
Next, I took each of the little corners and sewed a angle 1.5 inches from the top to the middle. I don't think that makes sense, but I had cut the corners off before I took this picture, so... sorry.
I turned it back right side in and sewed some extra buttons from the dress to the front. However, you see that we put a flower on it instead. It really pulled out the leggings that my niece wanted to wear. She is such a fashionista that I just went with it.

This was my first time trying to do a sewing project while I did a tutorial when I don't have a full plan on how I want to do it. I was just fly by the seat of my pants as I was working on this. I think that can make the best projects. Just use all of your sewing knowledge and go for it. What do you have to lose?

Thank you all so much for you amazing support. Don't forget to vote for this project over at Mommy by Day, Crafter by Night.

Tuesday, November 1, 2011

Just ROLL with it

I had the great opportunity to be a guest blogger on one of my good friends blogs while she was out of town. I know what you are thinking, why would she ask me? I am not the most consistent blogger these days. But, for whatever reason, she asked me and I was happy to do it. I did a silly little video about hot rollers and I thought it was time I shared the post with you. Please check out her blog when you get a chance, she is awesome and she does some creative outfits. You might remember her from this post too.

Enjoy!


Well, hello Mommy Crafters. I am Mallory from splitendsandnewbeginnings and Ashley asked me to guest post for her today. Ashley is sort of my blog mentor if you will. She is super encouraging when it comes to making my blog a better place for all things hair and beauty, but I just don't seem to have the blog skills that she possesses. With her guidance, I am sure I can find my inner blogger. I am just so happy that she asked me to guest post so I can work on said blogging skills.

Let me tell you a little about myself. I have been doing hair now for over 10 years and I LOVE it. I think your hair is your BEST accessory. I say "accessory" and not a "feature" because you can change it and adjust it to your mood and to whatever look you want to show for that day. You can do so much with it and it can do so much for you. I feel my best when my hair has fresh color and cut. After having so many of my clients ask me how to do their hair in different and fun ways I decided to challenge myself by styling my hair different for 30 days. I got the idea from my good blog friend over at Hair Romance. It was such a fun challenge and it really helped to inspire both myself and many of my clientele. After finishing the challenge I decided to try and keep my blog going with the occasional hair and beauty tips and ideas. I think it is very important to look and feel your very best. Even in a pair of sweats and no makeup, we can still learn to appreciate the beauty that we possess inside (I sound like a Whitney Houston song.) Anyways, I am getting a little off track. I just want to share the love of all things girlie.

I have a few video tutorials on my blog and I made one special for all of you who follow Ashley. I have to warn you, I am a little embarrassing. When you watch yourself doing your hair or looking at yourself in the mirror, it is totally awkward. I drop things, I repeat myself, my throat gets totally dry and I get a really itchy nose once the camera starts recording. At least I remembered to put the toilet seat down this time and I was able to edit out the two phone calls that I received. Oh, the joys of blogging! Enjoy!


If you have any questions, let me know on my blog, and I will get back to you.

Have a happy hair day!

Tuesday, September 13, 2011

Video Tutorial- Flat Iron Curls

I know, I know, I have been totally M.I.A. Balancing my responsibilities as a wife, mother, and hairstylist can be a little tricky. I do what I can, but if the blog suffers a bit for it, I apologize.

I did this tutorial a few weeks ago, and I hated it. I was so embarrassed with how I look and sound. I did it after a long day of running around. I didn't want to post it, but I figure it had some useful tips. Don't mind the fact that the toilet lid is up.

I wanted to show you the simple steps in curling with a flat iron. I get that there are probably many techniques and ways to do this, this is just my own little style. I do make my hair curlier or even straighter with the flat iron depending on how small the section is and how tightly I turn the iron as I go down the strand. If you want lots of curls, just use smaller sections and turn the iron around more often as you pull it down the strand. Still do the 180 degree turn at the base, just turn the iron more as you pull out. You will understand when you see the video.

I tend to like my hair on the messy side these days. I think it looks a little too messy in the video, but you get the idea from what I am doing. Flat iron curls just take practice. Once you get them down you will have so much fun and so much freedom on how loose or tight you want your curls to be. Have fun.


P.S. I promise to remember to put the toilet lid down for the next video. I also promise to find a way to not bang my comb, product, and flat iron down when I am done with them.

P.P.S. I know most people call the type of flat iron I used a F-H-I, I just say it all together as FHI. Potato, Potato.

P.P.S.S. The Lanza spray wax is now discontinued. I hope (fingers crossed) they are just working on making it better. You can use other spray waxes to achieve the same result.

Have a happy hair day!

Friday, July 29, 2011

Hair Tutorial- Chignon

Tutorial Time!! So, remember Day 24 with the Chignon? I got a few requests to do a tutorial, and I can't resist when someone says pretty please. This tutorial is extra special because my dear Lincoln did the pictures. All together now, "Thanks, Lincoln!" He has such a eye for things. He put up a light and took a million pictures. It was so hot under that light it almost made me feel bad for real models, almost.

Here we go step by step (ooh, baby) how to do the chignon.


Step 1- Think about what you are going to do. Look off into the distance and contemplate the future of your hair... ok, really I am just making fun of the look on my face. The real first step is to curl ends under with a large iron.

Step 2- Separate hair into three sections by parting from the top of your hair to just above the ear.

Step 3- Backcomb hair at the crown and secure the back section into a low ponytail.


Step 4- Lift up the ponytail and bobby pin the ponytail to the back of your head. Be sure to add enough bobby pins on both sides so the hair doesn't come loose. This step is very important.


Step 5- Backcomb the underside of the ponytail.


Step 6- Wrap ponytail around hand and in a big loop and bobby pin the ends of the ponytail under the rubber band of the ponytail. Be sure to bobby pin on both sides of the loop.


Step 7- Take one of your side sections and backcomb the root, then wrap the section over the top and around the chignon.


Step 8- Secure the ends under the chignon and repeat with the other side.

If you have a bang section, style with a iron to add polish.
Spray the heck out of the chignon and smooth down any fly aways. (I did not spray it down or smooth it out before the picture was taken... as you can see.)

Have so much fun with this style. I think it is really easy and lovely to wear. I want updates on how it went when you all styled your hair like this, because we all know you will be styling your hair like this, right?

Have a happy hair day!

Thursday, July 7, 2011

Four-Strand Braid Tutorial

Here it is. The braids everyone has been asking about. Let me know what you think. I want to hear from you on whether you were able to figure it out or not. Enjoy!


Have a happy hair day!

Tuesday, July 5, 2011

Mastering the French Braid

This tutorial gave me quit a fit. I wanted to post it yesterday with my last post, but for some reason it was not loading. So, here it is my French Braid tutorial. I know that some of you know how to do this, but for those of you who have never figured it out, this video is for you. I did both the dutch braid and the french braid. Enjoy!!


Have a happy hair day!!

Thursday, June 23, 2011

Day 12- "Ballerina Bun"

I LOVE the ballerina bun! It is the easiest style with the best response that I do. I studied ballet for a large part of my young life, so it is only natural for me to wear this style with pride. I know you have seen it around, but do you know how to do it? Well, now you do. Enjoy the tutorial.

FYI- I always smooth out the bun in the back when I am finished, I just didn't do it very well in the video. And, just in case some of you are using your Nancy Drew skill and wondering why I am wearing a different outfit in the video, I did the video on one of my days off. However, I swear to you that I didn't cheat and I did wear my hair like this today. The picture was taken after my long 11 hour day, and the bun is still going strong. I challenge you to give it a try and make it your own. I sometimes add a fabric flower or I twist the hair as I wrap it around. Do your thing and let me know how it goes.

Have a happy hair day!

Saturday, June 18, 2011

Day 7- "What's holding your hair back?"


I know that some of you are going to take one look at this hair style and think, "LAME!" But, wait, I want to explain. I think it is important to know how to pull your hair back away from your face, but still giving you volume and hold. You need to know secure your hair back with only bobby pins (and not using a rubber band) so you can better understand how to start a updo. And, I also think it is crucial to know how to do this with using the least amount of bobby pins possible. THIS is why I styled my hair like I did, to get you on track to knowing how to really style your hair. Your'e welcome.


Let's begin. You can see that I have a nice bump at my crown with smooth sides pulled back. Below is a step by step on how to achieve said style.


Step 1. Take your crown section and give yourself some nice back combing. After the back combing, bobby pin only the crown section down by putting a bobby pin on either side of the section. Remember, this is only the crown. You are leaving the front sides out for now. Step 2- Take on of the side parts and smooth it across the two bobby pins holding the crown section down. Place a third bobby pin under the bobby pin opposite from the side you are working on. Slide it in straight not at an angle, this will help the bobby pin hide under the hair.
Step 3- Take the other side and repeat what you did with the first side by sliding a bobby pin in under the other pin holding the crown in place.
Step 4- (I admit, I didn't do this step very well for the picture.) You now need to make sure the hair is hiding the pins and the strand are held in place.
I didn't get a good chance to look in the mirror as I was doing these pictures, but you get the idea. I love using this technique when I start many of my updos so the style doesn't weigh down the crown and make the hair too flat on top. I always use bobby pins and rarely do I use hair pins or straight pins. I know this doesn't look like much, but once you understand how to put a bobby pin in, you can do so much with your hair.

Have a happy hair day!

Friday, June 17, 2011

Day 6- "Loose/Beach Waves" and a TUTORIAL

Ok, I have had a day filled with learning experiences. First off, I learned that doing video tutorials is HARD. You know how much you hate hearing your own voice recorded, try watching yourself explaining how to curl your hair!!! It was a train wreck. Luckily I have a really handy husband who was able to turn my almost 30 minute video filled with babies crying and husbands coming home early and scaring me, and lots of mess ups and pauses, down to almost 8 minutes. You can all thank him in your hearts, cause he really saved you from a painful experience. The second thing I learned was how often I look down and say "um" and talk with my hands and... I could go on and on. I guess we are our own worse critic.
I had to edit out the entire section on product knowledge and how to use it. It just didn't flow. I promise to talk about that soon. I think it is a big deal to use the right product and I want you all to be educated. I also had to edit out a few of the questions that many of you have been asking me. Lincoln thought it sounded like I was rambling, and he was totally right. Let's not forget that this is my first tutorial and I have learned so much. I promise they will only get better from here. I hope you enjoy.


Have a happy hair day!